Ingredients
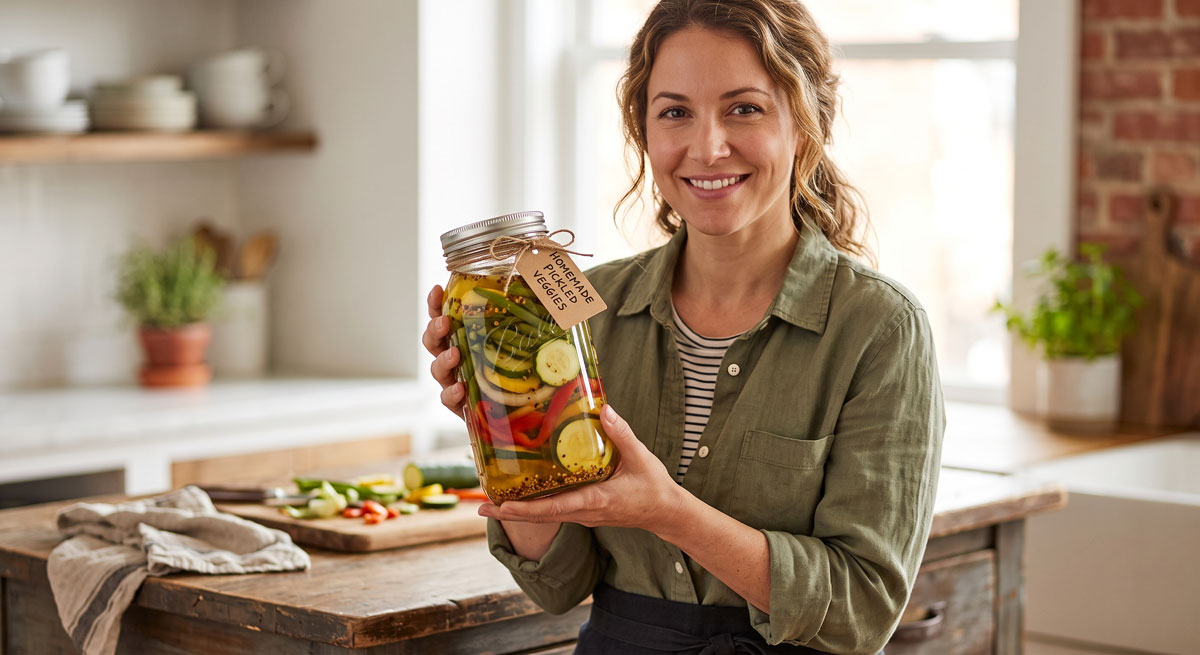
To achieve the best texture and flavor, use fresh, crisp produce. Here is what you will need to make this colorful jar of Pickled Veggies:
- 1.5 cups (5.3 oz / 150g) green beans, halved
- 2.0 cups (8.0 oz / 225g) sliced zucchini
- 1.5 cups (5.3 oz / 150g) sliced onions
- 1.0 large (7.0 oz / 200g) red pepper, sliced
- 1.0 tbsp. (0.7 oz / 21g) honey
- 1.0 tbsp. (0.2 oz / 6g) pickling spice
- 1.0 cup (8.5 fl oz / 240g) apple cider vinegar
- 1.0 tsp. (0.2 oz / 6g) salt
How to Make Quick Pickled Veggies
Follow these simple steps to prepare your very own batch of homemade Pickled Veggies.
- Place the sliced onions, green beans, zucchini, and red pepper in a large colander, evenly sprinkle the 1.0 tsp. (0.2 oz / 6g) of salt over them, and let the mixture stand for at least 15 minutes to draw out excess moisture.
- Rinse the salted vegetables thoroughly under cold water, then carefully stir them into a pot of rapidly boiling water and cook for exactly 2 minutes to gently blanch them.
- Drain the vegetables immediately and rinse them heavily with cold water to halt the cooking process, ensuring your Pickled Veggies stay perfectly crisp.
- In a small saucepan, combine the 1.0 cup (8.5 fl oz / 240g) of apple cider vinegar and 1.0 tbsp. (0.2 oz / 6g) of pickling spice, bringing the liquid to a gentle boil over medium heat.
- Remove the saucepan from the heat, allow the brine to cool slightly, and vigorously stir in the 1.0 tbsp. (0.7 oz / 21g) of honey until it is completely dissolved.
- Transfer the cooled vegetables into a clean, sterile glass jar and carefully pour the warm vinegar brine over the top, making sure all the Pickled Veggies are fully submerged before sealing tightly and refrigerating for up to 14 days.
Nutritional Information
Note: The following nutritional values are approximate and calculated per serving, based on a 16-serving yield.
- Calories: 23 kcal
- Carbohydrates: 4.6 g
- Protein: 0.6 g
- Fat: 0.1 g
Pro Tips
As a chef, I always look for ways to elevate a simple recipe. Here are my top tips to ensure your batch turns out crunchy, vibrant, and packed with flavor:
- Prioritize Freshness: Always start with the firmest, freshest produce you can find. Older, slightly limp vegetables will not crisp up in the brine and can lead to a mushy texture.
- Customize Your Spices: While the standard pickling spice is great, feel free to add fresh dill sprigs, a few smashed garlic cloves, or a pinch of crushed red pepper flakes to the jar before pouring in the brine for a customized flavor profile.
- Use Glass Containers: Always store your pickled vegetables in non-reactive glass jars (like mason jars). Plastic containers can absorb the pungent vinegar smells and flavors, and metal containers can react with the acid.
- Respect the Salt: Do not skip the initial salting step. Salting the vegetables draws out excess water, which prevents your brine from getting diluted and ensures a satisfying crunch in every bite.
Frequently Asked Questions (FAQ)
How long do homemade pickled veggies last in the fridge?
When stored in an airtight glass jar and fully submerged in the vinegar brine, your pickled veggies will stay fresh and crunchy in the refrigerator for up to 14 days.
Can I use different vegetables for this recipe? Absolutely! This is a highly versatile recipe. You can easily swap in or add cauliflower florets, sliced carrots, radishes, or cucumbers. Just be sure to keep the overall volume of vegetables the same so you have enough brine to cover them.
Do I have to use apple cider vinegar? Apple cider vinegar adds a wonderful fruity tang, but if you do not have it on hand, you can substitute it with equal parts white vinegar or white wine vinegar. Avoid using dark vinegars like balsamic, as they will muddy the color and drastically alter the flavor.
Why do I need to rinse the vegetables after salting? Rinsing the vegetables is crucial to wash away the excess salt used during the drawing-out process. If you skip this step, your final dish will end up overwhelmingly salty.