
Homemade coconut milk the easy way needs exactly two ingredients: finely shredded coconut and hot water, blended and squeezed through cheesecloth. It takes five minutes and skips the guar gum and BPA-lined cans entirely. The healthiest option is to make it yourself — and once you taste the fresh, creamy result, you'll wonder why you ever bought cans.
MAKES 3-4 CUPS/700-950 ML
We try to limit our use of canned coconut milk. You can find some BPA-free brands, but most of them have additional ingredients such as guar gum. I still think the healthiest option is to make it yourself!
You can make coconut milk using various methods, including making it from desiccated coconuts or from fresh coconuts. The latter takes a fair amount of work. This method relies on a store-bought package of shredded coconut.
INGREDIENTS
8 oz/227 g package of finely shredded coconut
3–4 cups/700-950 ml of hot water, not boiling
COOKING INSTRUCTIONS
Place coconut and hot water in blender for about 45 seconds. Line a strainer with 2 layers of cheesecloth or use a nut milk bag. Pour the contents of the blender through the strainer and into a large bowl. Pull the edges of the cheesecloth together and squeeze out the remainder of the coconut milk. Refrigerate the coconut milk and use within 1–2 days.
CHEF’S TIP
Depending on your need, vary the amount of water. Less water will give you a creamier coconut milk. If you are making the milk to add to smoothies or a recipe that doesn’t require a lot of cream, use more water and make more milk from one package. Coconut milk freezes well in freezer-safe glass jars!
Pro Tips
- Use hot water, not boiling — scalding water extracts a slightly cooked flavor and can make the milk taste flat.
- Blend a full 45 seconds; the finer the coconut breaks down, the more milk you'll squeeze out of the pulp.
- Line the strainer with two layers of cheesecloth or use a nut milk bag — single-layer cheesecloth lets cloudy sediment through into your milk.
- Vary the water to suit the job: less water for a thick, creamy milk for curries and puddings, more for smoothies and drinking.
- Squeeze the cheesecloth bundle firmly at the end — there's often half a cup of good milk still trapped in the pulp.
Frequently Asked Questions
How long does homemade coconut milk keep?
Use it within one to two days in the refrigerator. It separates naturally as it sits — just shake or stir before using.
Can I freeze it?
Yes — coconut milk freezes well in freezer-safe glass jars. Leave headroom for expansion and thaw in the fridge overnight.
What do I do with the leftover coconut pulp?
Dry it in a low oven and use it as shredded coconut in baking, or blend it into smoothies. Nothing needs to go to waste.
Is this the same as canned coconut milk?
Very close — minus the guar gum and can lining. Homemade is lighter and fresher-tasting; for extra richness, use less water and let the chilled milk's cream rise to the top.
Recipe Card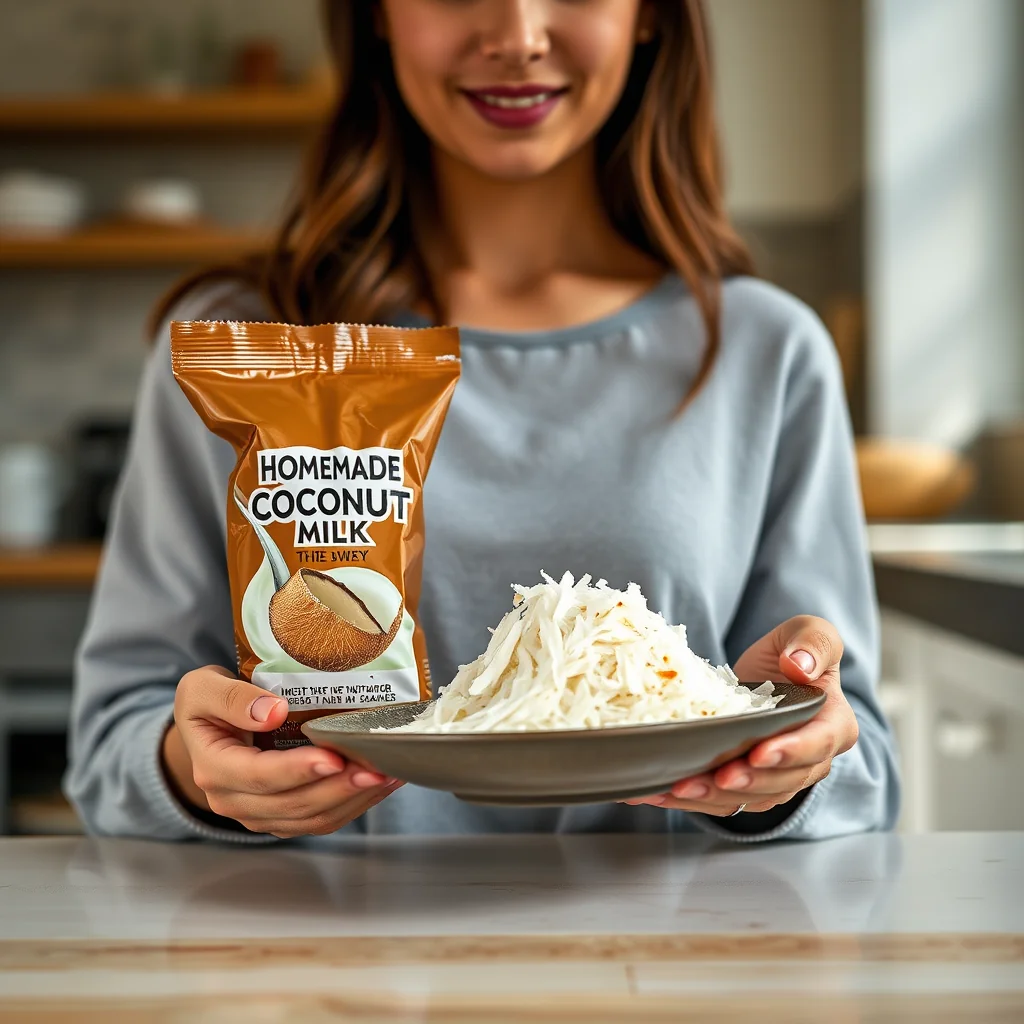
Ingredients
Method
- COOKING INSTRUCTIONS Place coconut and hot water in blender for about 45 seconds.
- Line a strainer with 2 layers of cheesecloth or use a nut milk bag.
- Pour the contents of the blender through the strainer and into a large bowl. Pull the edges of the cheesecloth together and squeeze out the remainder of the coconut milk.
- Refrigerate the coconut milk and use within 1–2 days. CHEF’S TIP Depending on your need, vary the amount of water. Less water will give you a creamier coconut milk. If you are making the milk to add to smoothies or a recipe that doesn’t require a lot of cream, use more water and make more milk from one package. Coconut milk freezes well in freezer-safe glass jars!