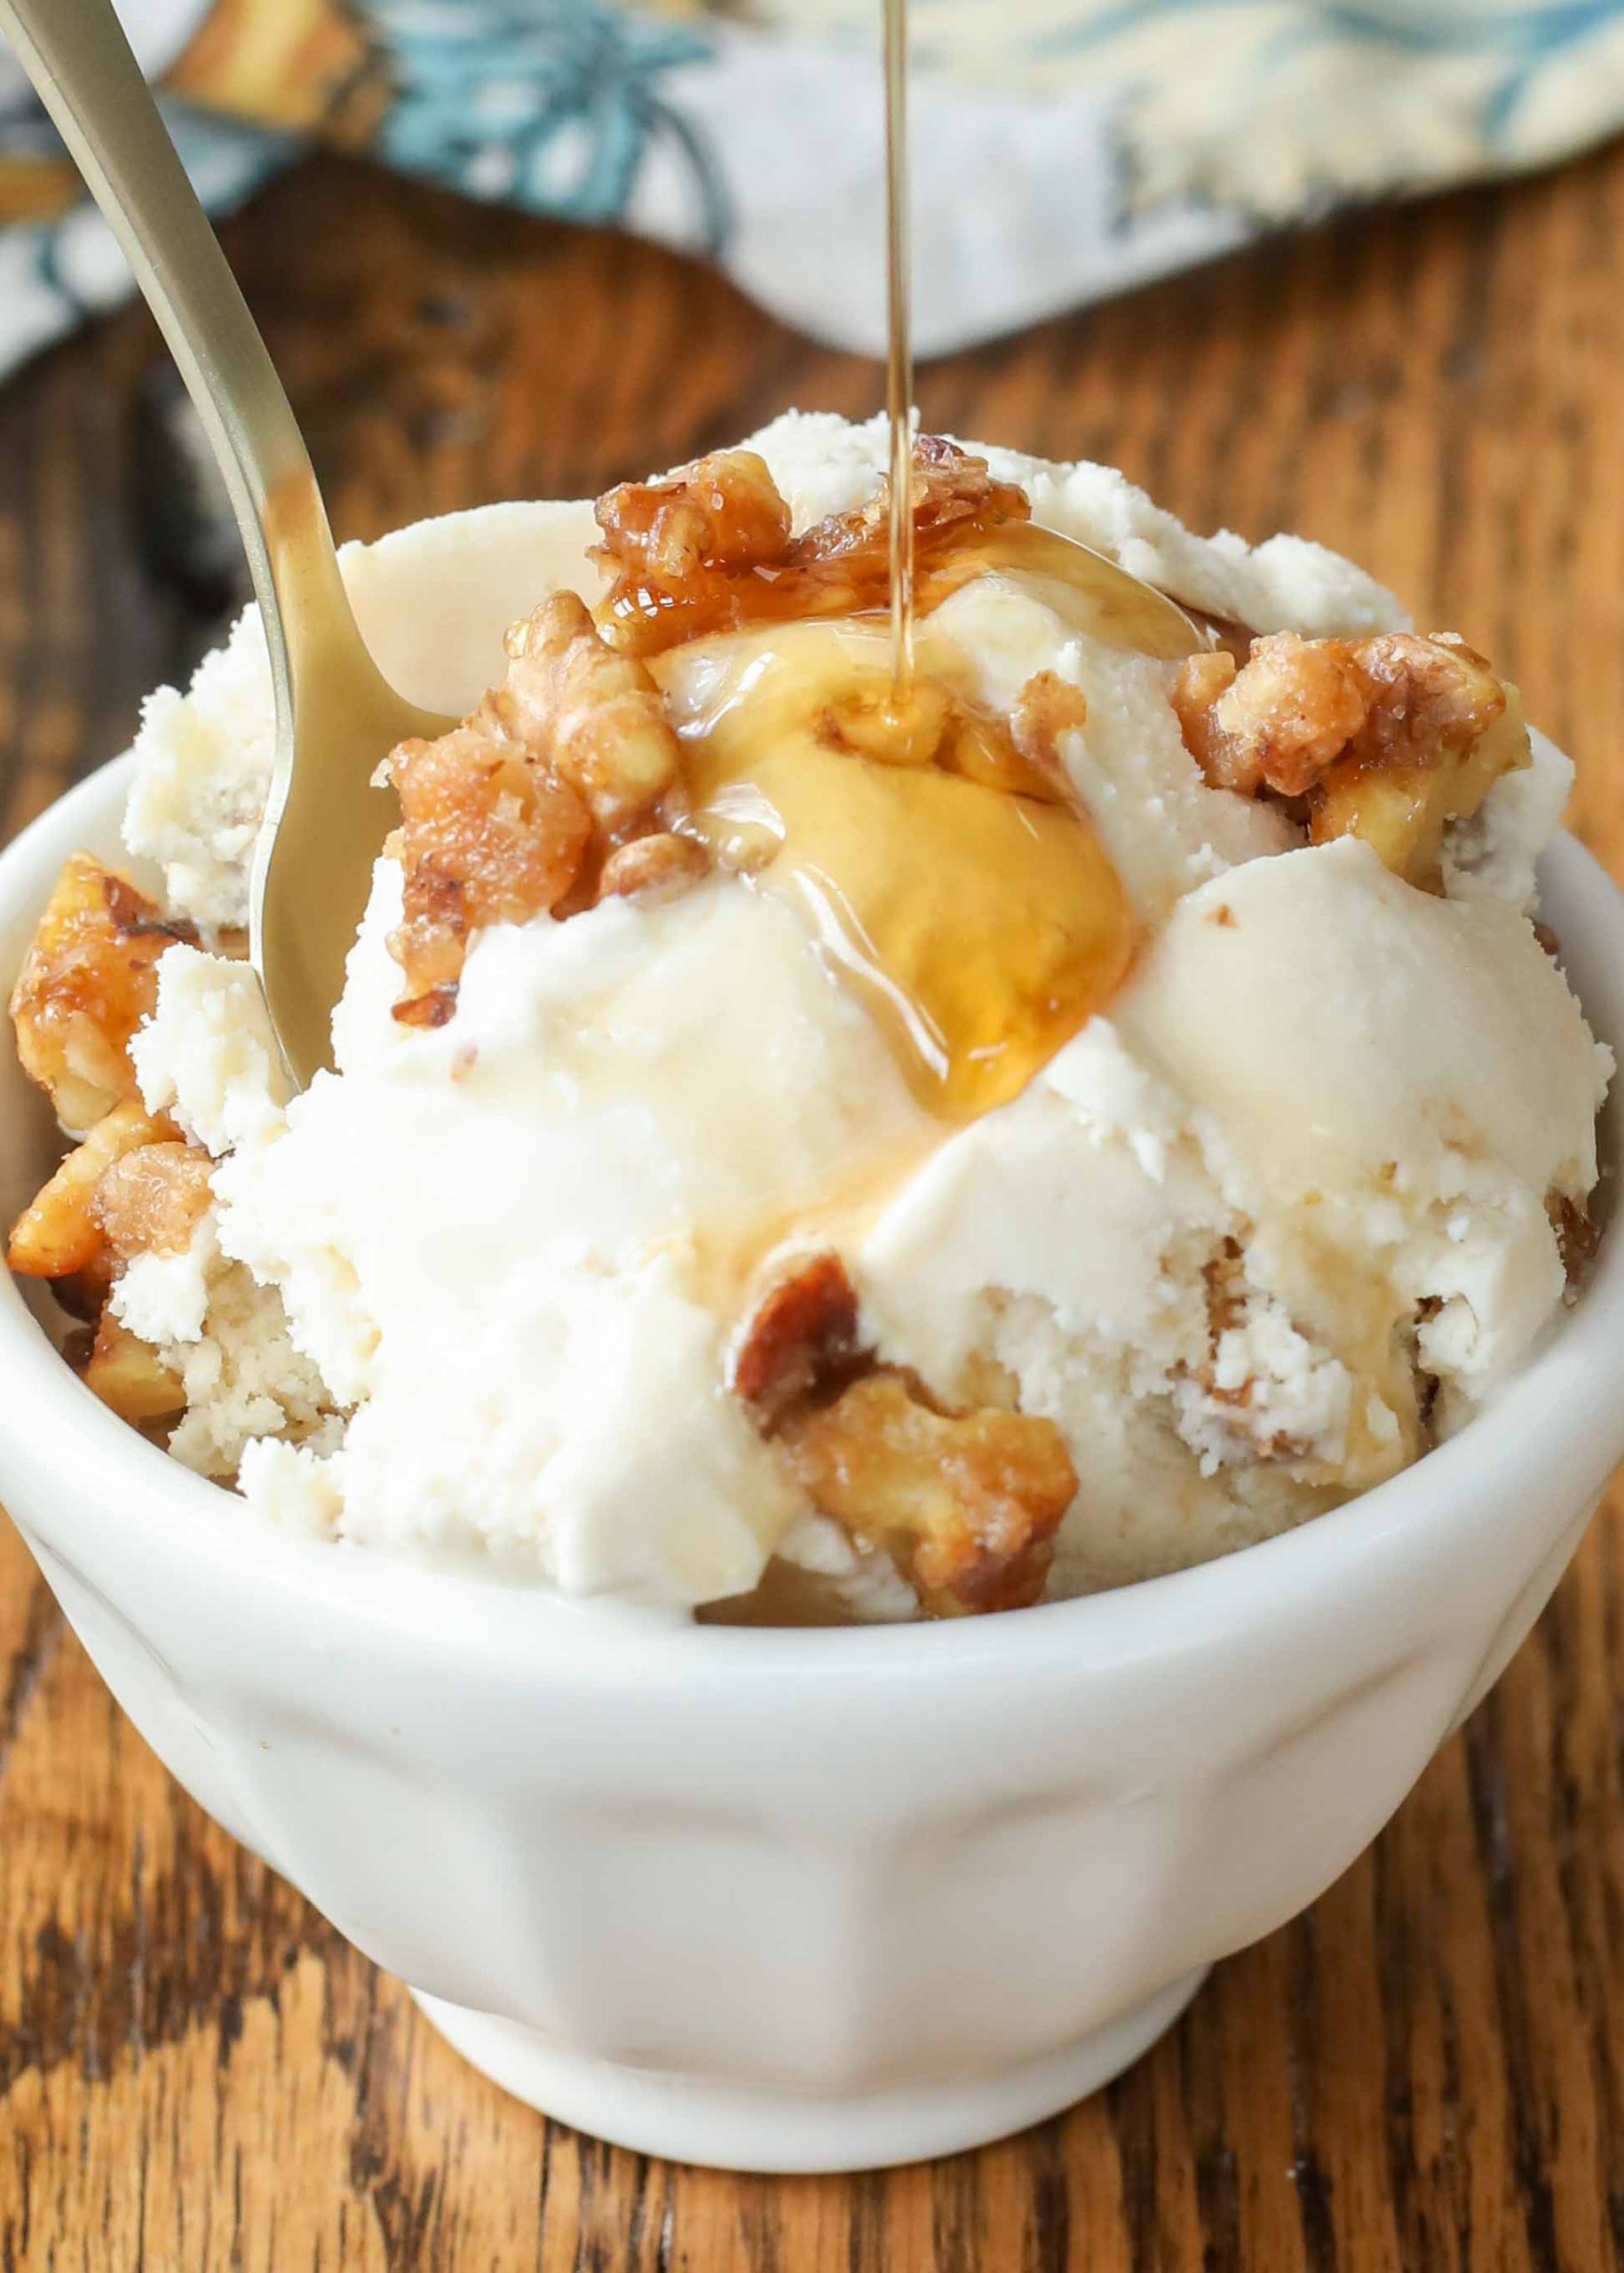
Makes a quart of ice cream
You might be missing your Honey Nut Cheerios, but this recipe will surely surpass any memory you had of those sugar bombs. Who’d have thought that ice cream was healthier than cereal?!
We like to use local wildflower honey we get at the farmers’ market because it is rich and delicious. But the best part of using fresh local honey is that the pollen bees collect during the process of making honey helps your body handle the flower pollen in the air so that you sneeze less in the spring. Bees are super-awesome for the earth, too, and without them we might not have flowers or trees.
Next time your squeeze bear runs out, maybe you can get honey from a local bee keeper. You might even be able to find honeycomb, which makes a great topping for this ice cream! If you don’t know what a honeycomb is, ask your parents to help you look it up—super-cool and interesting!
INGREDIENTS
• 1 (14 oz can) of full-fat coconut milk
• 2 C unsweetened almond or hemp milk
• ¼ C honey
• 1 Tbsp vanilla
• 1 C walnuts, chopped (use a food processor if you like a less chunky ice cream)
• Optional: honeycomb and drizzle of honey for topping
INSTRUCTIONS AND HOW KIDS CAN HELP
1. Whisk together the two milks until combined.
2. Add the honey and vanilla and whisk vigorously to combine.
3. Put this mixture in the ice cream maker and churn.
4. Allow your ice cream maker to churn for 20-30 minutes until thick and crystallized, adding walnuts halfway through.
5. Move to an airtight container and freeze ice cream after churning. Best served after 1–4 hours after being frozen. If not eaten immediately, simply set the ice cream on the counter for 10-15 minutes prior to serving in order to soften.


